






There are a few immutable laws of the universe. Things like gravity, entropy, or how you always lose a button at the most inopportune moments.
But no missing button can shake your confidence and style. Why? Because you found this guide, and you’re about to be equipped with one of the most useful (and easy) repair skills one can learn. With only a few supplies, you’re about to be unstoppable (at least, as far as fixing buttons is concerned).
What You’ll Need to Sew a Button
Before you start, gather a few basic supplies:
- A sewing needle appropriate for the weight of the fabric
- Thread that matches the button and garment
- A suitable replacement button
- Small scissors
- A thimble (particularly helpful when working with heavy fabrics)
Whenever possible, use a replacement button that matches the original in size, shape, and number of holes. If the original button is still attached, you’re probably in luck, but you should check to ensure that the button’s center hasn’t been worn-through by wear. Some garments also include a spare button sewn into the interior, making the replacement a cinch.
Related: Difficult Fabrics and Clothing Types to Avoid
Check the Garment Before You Start
The way you sew on a button depends partly on what you’re repairing. A lightweight shirt requires a different approach from a pair of heavy trousers or a structured suit jacket.
First, check the garment for signs of stress around the button. If the fabric is torn, stretched, or fraying, simply sewing the button back onto the same spot might not solve your problems. In instances where damage or stress is present, you may need to reinforce the area or have the garment professionally repaired. For pants and jackets, also check whether the button is positioned correctly relative to the buttonhole. Even a securely attached button won’t be useful if it’s sewn in the wrong location.
How to Sew a Two-Hole Button
Two-hole buttons are common on shirts, blouses, lightweight jackets, and many other garments. They’re also relatively simple to attach.
1. Thread Your Needle
Cut a manageable length of thread, roughly 18 to 24 inches, and thread your needle. Knot the ends together if you’re working with a single doubled strand.
Choose thread that matches the garment or existing buttons as closely as possible. For heavier pants or jackets, use a stronger thread appropriate for the fabric rather than basic lightweight sewing thread.
2. Position the Button
Place the button right where the original button was attached. If you’re replacing a missing button and can’t see the original stitching, use the other buttons as a guide for spacing and alignment. For items like shirts and jackets, make sure the button lines up with the corresponding buttonhole before sewing it permanently into place.
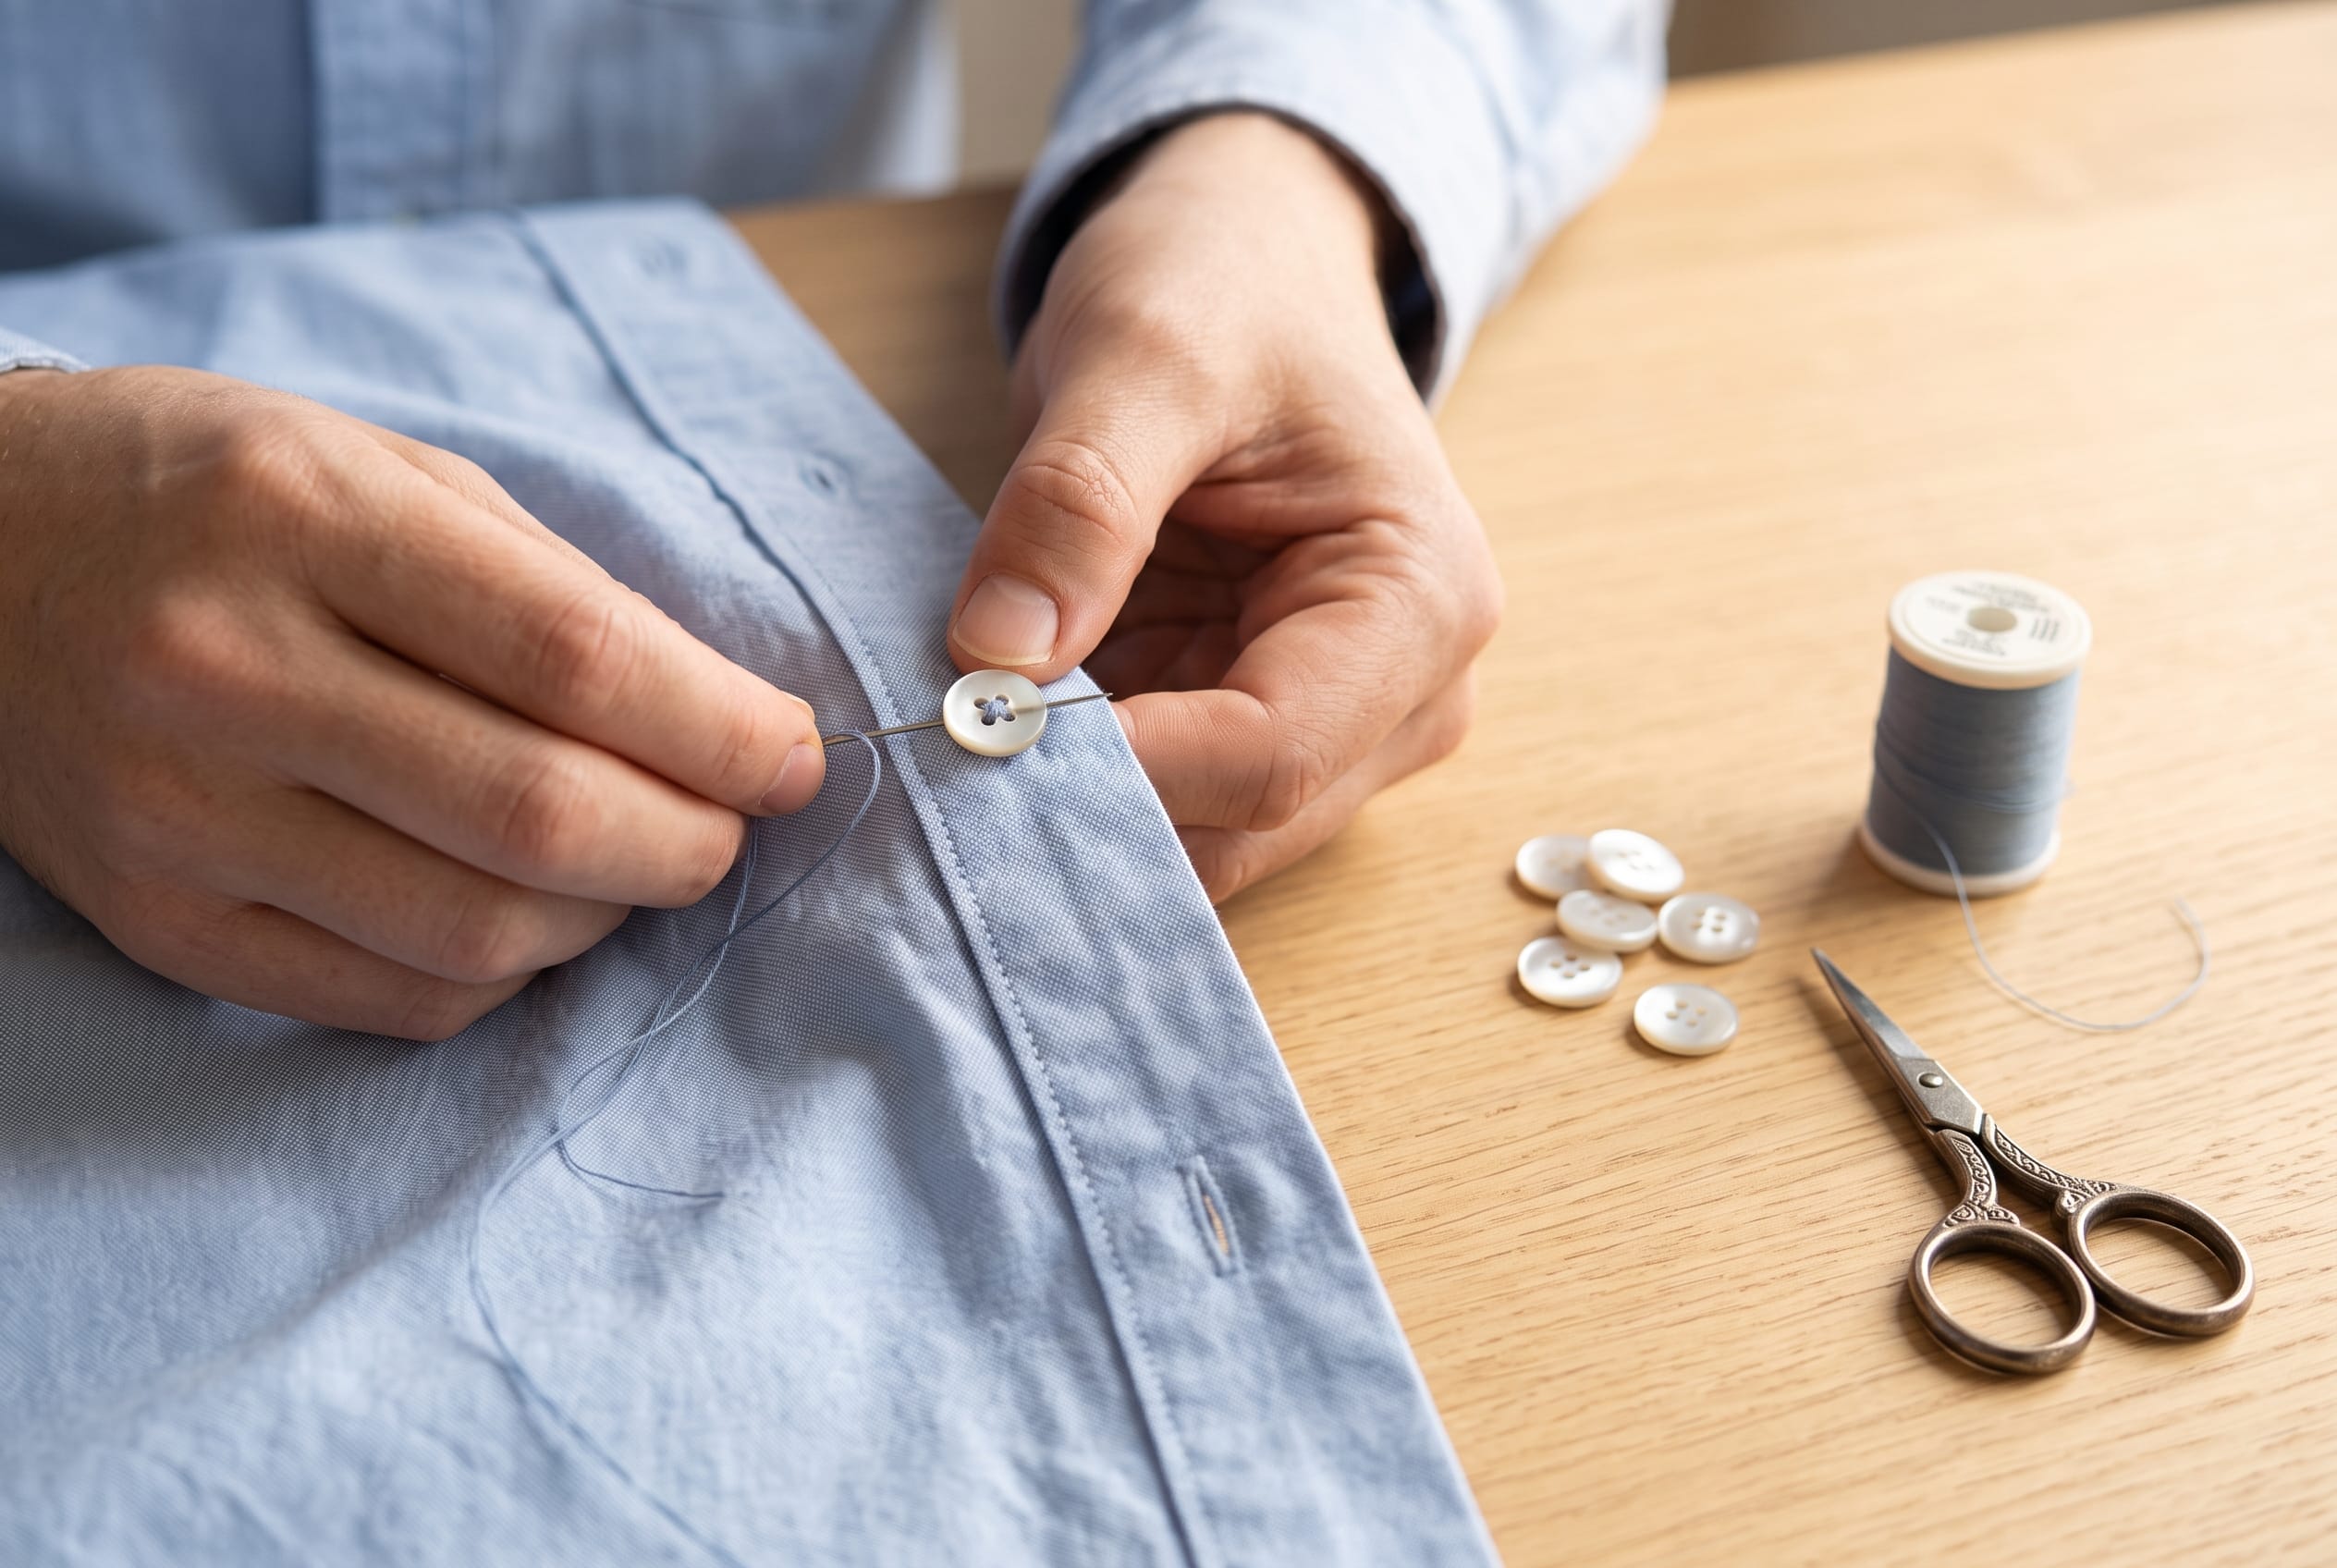
3. Sew Through the Holes
Push the needle from the inside of the fabric through one buttonhole, then down through the second hole. Repeat this motion several times, keeping your stitches neat and relatively even. Make sure not to pull the thread excessively tight against the fabric. A button needs a little room to sit above the garment, particularly on thicker fabrics.
4. Create a Thread Shank
Once the button is securely attached, bring the needle beneath the button and wrap the thread several times around the stitches between the button and fabric. This creates a small “thread shank.” A shank gives the button room to sit above the garment and reduces stress on the fabric when the button is fastened. This is an important consideration for thicker materials such as suit jackets and coats.
5. Secure the Thread
Finish with several small stitches on the inside of the fabric and tie a secure knot. Trim the excess thread close to the knot, but not so close that the knot can come untied.
How to Sew a Four-Hole Button
Four-hole buttons involve more-or-less the same sewing process, but they provide more attachment points and can be sewn in different patterns.
The simplest method is to sew through two holes at a time. Stitch vertically through the two holes closest together, then repeat with the remaining pair. Alternatively, you can create a cross pattern by stitching diagonally between opposite holes. Whichever pattern you choose, match the existing buttons on the garment if possible. Consistency is especially important on dress shirts, jackets, and suits because the stitching becomes part of the garment’s finished appearance.
After stitching through all four holes several times, create a thread shank beneath the button, then secure and trim the thread on the back of the fabric.
When Should You Call a Tailor?
Sewing on a basic shirt button is a manageable DIY repair, but some button problems are really garment construction problems in disguise. Torn fabric, stretched buttonholes, damaged waistbands, loose elastic, and buttons on structured jackets may require more than just a needle and thread.
A garment care expert has all the tools for the job, plus all the know-how to get it done right. Professional tailoring is also worth considering for expensive suits, designer clothing, formalwear and garments made from specialty fabrics. A tailor can assess the damage, reinforce the fabric, and make sure the replacement button is positioned and attached for exceptional fit, function, and appearance.
Read More: Three Reasons to Tailor Your Clothes
Never Lose a Button Again
Lost buttons, prickly needles, and annoying little chores not your thing? We get that.
Now, you never have to worry over a button, rip, or loose seam ever again. At Dependable Cleaners, every garment receives a thorough inspection as part of our cleaning process, and minor repairs like replacing loose or missing buttons are complimentary with every service.
Shouldn’t every aspect of life be that dependable?